Importing OpenPGP private keys into Proton Mail
Proton Mail lets you import your existing OpenPGP private keys (or secret keys) into its encrypted ecosystem. This will let you continue using those keys to sign and decrypt your emails.
The keys you import must meet Proton’s minimum key requirements for security and compatibility reasons.
If your key meets our minimum requirements, you should be able to import them directly.
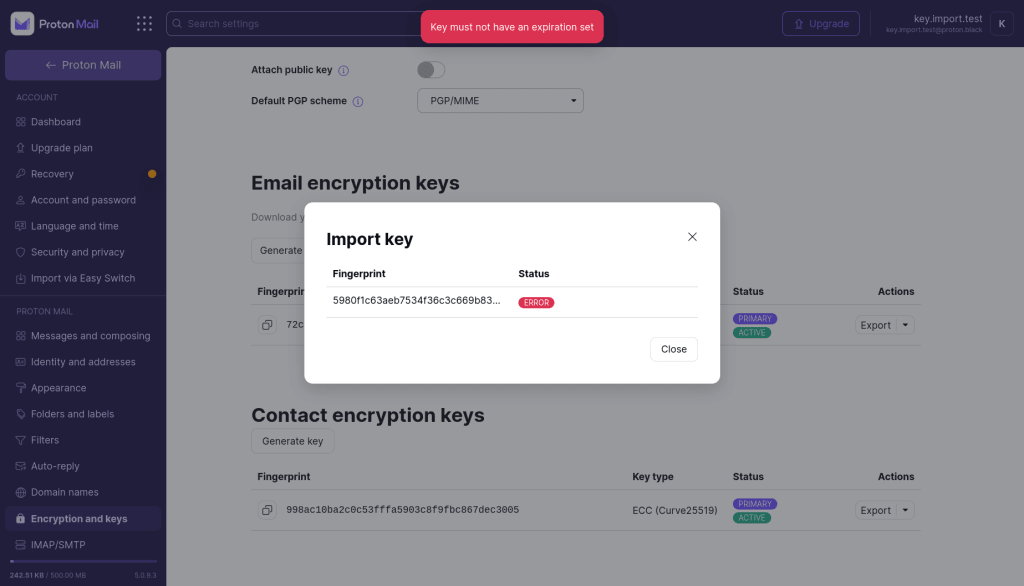
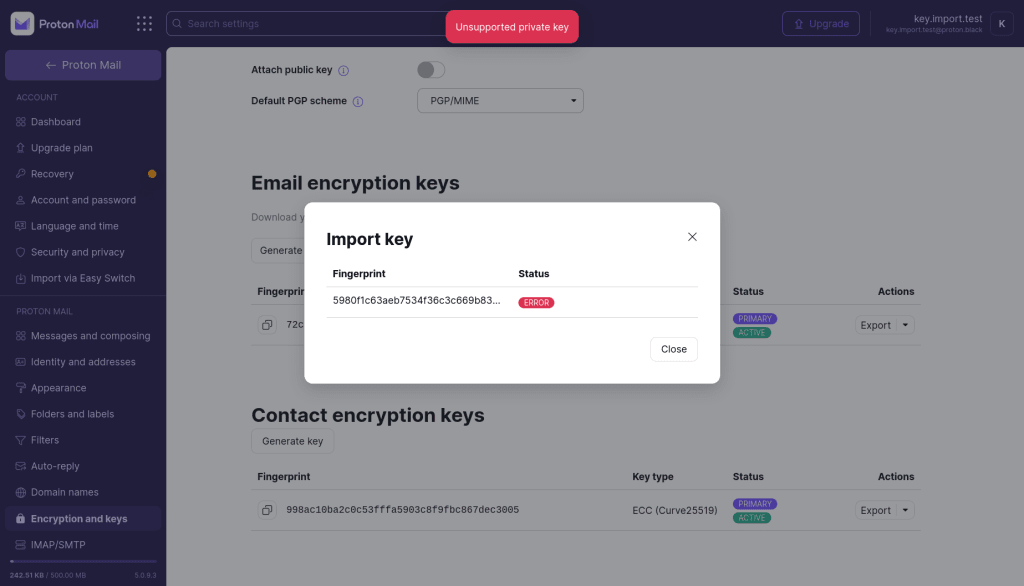
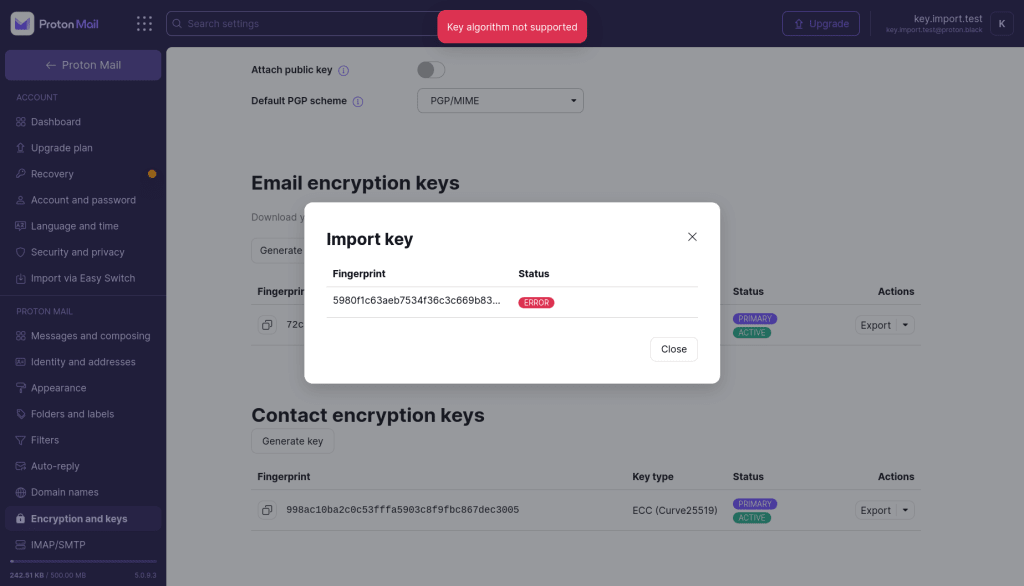
If your key does not meet our minimum requirements, you will see an error screen after you try to upload it. This error screen will explain why the key was rejected. We provide guides to modify your key so that you can import it.
How to import your OpenPGP key into Proton Mail
- Log in to your Proton Account on the Proton Mail web app
- Click Settings → All settings → Encryption and Keys → Email encryption keys.
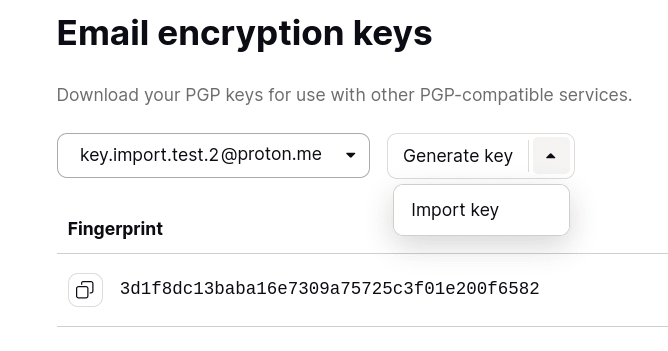
- Select the email address associated with the key in question, click the dropdown menu that says Generate key, and click Import key.

You’re done! You can now use your OpenPGP private keys on Proton Mail.
How to modify your OpenPGP key
If your keys do not meet our requirements, you will not be able to import your keys.
We’ll cover the most common scenarios in which your key can get rejected and explain how you can resolve the situation.
Before you begin
If you need to modify your OpenPGP private keys to upload them to Proton Mail, there are two steps you must take before you begin:
- Download and set up GnuPG and import your keys
- Make a backup version of your OpenPGP keys before modifying them
Set up GnuPG and import your keys
We use the GnuPG (GNU Privacy Guard) tool throughout this guide to modify the private keys we want to import.
If you don’t have GnuPG installed, go to https://gnupg.org/download/(new window) to find the app for your device.
If the key you want to import into Proton Mail has not been imported in to GnuPG, you need to do so with the command:
gpg --import <path/to/key>
Most of the following operations will rely on the interactive commands based on
gpg --edit-key
Read GnuPG’s documentation(new window).
Important: make a backup of the keys before modifying them
If the private key you’re trying to import are used for other applications besides Proton, make sure you create a backup copy of any key before you modify it.
If you’ve already imported your private key to GnuPG, you can do so with the command:
gpg --armor --export-secret-keys <user-id> > backup-key.asc
Later you can re-import the original key with the command:
gpg --import backup-key.asc
Reasons your private key was rejected
- Your key has an expiration date
- Your key has the wrong identity
- Your key has no encryption subkey
- Your key uses unsupported algorithms
Your key has an expiration date

What this means
OpenPGP keys (and subkeys) can have expiration dates, after which all OpenPGP-compliant libraries would reject them.
To make sure you can always receive your emails on Proton Mail using this OpenPGP key , we require that all imported keys have no expiration date set.
If you try to import a key with an expiration date, it will get rejected.
How to resolve this
- Open GnuPG and check that the key has an expiration date set by running the command:
gpg --list-keys <user id>
with the “user id” being the email address associated to the key.
The output you’ll see will look something like this:
$ gpg --list-keys [email protected]sec rsa3072 2022-09-21 [SC] [expires: 2024-09-20] C931E2A00A01EE4604049A4EA9C08446B1B88861uid Import key guide <[email protected]>ssb rsa3072 2022-09-21 [E] [expires: 2024-09-20] |
Here, we can see that both the primary key and the encryption subkey have an expiration date set to 2024-09-20.
To import into Proton Mail, we need to edit the key to have no expiration date.
2. To edit the key, run the command:
gpg --edit-key <user id>
GnuPG will enter an interactive mode. You need to go over each subkey and edit their expiration date. You can select subkeys using the command:
key <key-index>
and then set its expiration date to never using the command:
expire 0
3. Save using the command:
save
For the key in the example above, the whole transcript will look like this:
$ gpg --edit-key key.import.test@example.proton.megpg> key 0gpg> expire 0gpg> key 1gpg> expire 0gpg> save |
4. Check your keys for expiration dates using the command:
gpg --list-keys <user id>
The output you see should look something like this:
$ gpg --list-keys [email protected]pub rsa3072 2022-09-21 [SC] C931E2A00A01EE4604049A4EA9C08446B1B88861uid [ultimate] Import key guide <[email protected]>sub rsa3072 2022-09-21 [E] |
As you can see, the sections where the expiration dates were listed are now blank.
5. We can now export the key from GnuPG using the command:
gpg --armor --export-secret-keys <user-id> > exported-key.asc
6. You can now import the newly exported key into Proton Mail
You key has the wrong identity or multiple identities

What this means
OpenPGP keys can be associated with one or more user identities that have a specified email address.
In some Proton services, this identity is used to look up a key for a given address.
To make sure your key is associated with the intended address and avoid having it associated with the wrong address, Proton requires that all imported keys contain a single user ID that uses the same email address as the Proton Account the key is being imported into.
If you have several address Proton Mail addresses, make sure you are importing the correct key to the right address.

This error can also happen if the address has multiple user identities (one of which might be associated with the Proton Mail address you’re importing the key to). In this scenario, Proton requires that the other identities be removed, as Proton cannot confirm that a key was created by the owner of an address if it’s an external address (a non-Proton Mail address).
How to resolve this
- Open GnuPG and check what identities are associated with your key. You can select your key using the fingerprint, which can be found in the import dialog. You can access this by running the command:
gpg --list-keys <key fingerprint>
The output you’ll see will look something like this:
$ gpg --list-keys 5980f1c63aeb7534f36c3c669b838c4a93779a09pub rsa3072 2022-10-11 [SC] 5980F1C63AEB7534F36C3C669B838C4A93779A09uid [ultimate] Some identity <[email protected]>sub rsa3072 2022-10-11 [E] |
Here we can see that the key has a user identity associated to an email address that is not handled by Proton.
2. Edit the key by running the command:
gpg --edit-key <fingerprint>
Then create a new user identity with the command:
adduid
Specify the name and email address (the email address must be the Proton Mail address that you’re importing the key to).
Now your key likely has multiple identities. To proceed, you must remove the ones that are not associated with your Proton Mail address.
3. Select the other user identities you want to remove with the command:
uid <index of user id>
Delete the with the command:
deluid
4. Save the changes with the command:
save
For the key in the example above, the whole transcript will look like this:
$ gpg --edit-key 5980f1c63aeb7534f36c3c669b838c4a93779a09...gpg> adduidReal name: Import testEmail address: [email protected]Comment:...Change (N)ame, (C)omment, (E)mail or (O)kay/(Q)uit? Osec rsa3072/9B838C4A93779A09 created: 2022-10-11 expires: never usage: SC trust: ultimate validity: ultimatessb rsa3072/07FE974BC493DC08 created: 2022-10-11 expires: never usage: E [ultimate] (1) Some identity <[email protected]>[ unknown] (2). Import test <[email protected]>gpg> uid 1...gpg> deluidReally remove this user ID? (y/N) y...gpg> save |
5. Check you keys’ user identities with the command:
gpg --list-keys <fingerprint>
The output you see should look something like this:
$gpg --list-keys 5980f1c63aeb7534f36c3c669b838c4a93779a09...pub rsa3072 2022-10-11 [SC] 5980F1C63AEB7534F36C3C669B838C4A93779A09uid [ultimate] Import test <[email protected]>sub rsa3072 2022-10-11 [E] |
As you can see, the key only has a single user identity associated with it, and that identity is linked to a single Proton Mail address.
6. Export the key from GnuPG with the command:
gpg --armor --export-secret-keys <fingerprint> > exported-key.asc
7. You can now import the newly exported key into Proton Mail
Your key has no encryption subkey

What this means
To ensure Proton Mail users can receive encrypted emails, Proton services expect every address key to be able to encrypt data. That’s why we require imported keys contain at least one subkey that can perform encryption (some subkeys can be only used for signatures).
How to resolve this
- Open GnuPG and check the subkeys of the key you are trying to import by running the command:
gpg --list-keys <user-id>
The output you see should look something like this:
$ gpg --list-keys [email protected]pub rsa3072 2022-09-21 [SC] C931E2A00A01EE4604049A4EA9C08446B1B88861uid [ultimate] Import key guide <[email protected]> |
In this example, the key only has one subkey, which has Sign and Ceritfy capabilities (marked [SC]). There’s no subkey that has encryption capabilities (which would be marked [E]).
2. Select the key to edit with the command:
gpg --edit-key <user id>
Add a new subkey with the command:
addkey
Select an encryption algorithm. Proton only supports RSA (encrypt-only) or ECC (encrypt-only).
For RSA subkeys, select a size. Proton requires that it’s at least 2048 bits.
Select an expiration date. Proton requires it to be 0 (no expiration date).
3. Confirm the new subkey and then save the changes with the command:
save
The whole transcript should look something like this:
$ gpg --edit-key [email protected]gpg> addkeyPlease select what kind of key you want: (3) DSA (sign only) (4) RSA (sign only) (5) Elgamal (encrypt only) (6) RSA (encrypt only) (14) Existing key from cardYour selection? 6RSA keys may be between 1024 and 4096 bits long.What keysize do you want? (3072)Requested keysize is 3072 bitsPlease specify how long the key should be valid. 0 = key does not expire <n> = key expires in n days <n>w = key expires in n weeks <n>m = key expires in n months <n>y = key expires in n yearsKey is valid for? (0) 0Key does not expire at allIs this correct? (y/N) yReally create? (y/N) ygpg> save |
4. Check your keys’ user identities with the command:
gpg --list-keys <fingerprint>
gpg --list-keys [email protected]pub rsa3072 2022-09-21 [SC] C931E2A00A01EE4604049A4EA9C08446B1B88861uid [ultimate] Import key guide <[email protected]>sub rsa3072 2022-10-11 [E] |
As you can see, the key now has a subkey with encryption capability.
5. Export the key from GnuPG with the command:
gpg --armor --export-secret-keys <user-id> > exported-key.asc
6. You can now import the newly exported key into Proton Mail
Your key uses unsupported algorithms

What this means
OpenPGP keys can support many different cryptographic algorithms, some of which Proton does not consider secure enough to protect your emails.
Proton will reject keys that use weak or outdated algorithms to avoid downgrading other users’ security and ensure that received messages can be decrypted by Proton Mail users.
The following asymmetric algorithms are not supported by Proton:
- RSA with keys smaller than 2048 bits
- ElGamal
- ECC keys with curves other than x25519 and NIST’s P-256, P-384, or P-521
- DSA
We also require that imported keys signal support for AES-256 as a symmetric cipher, SHA-256 as a hash function, and ZLIB as a compression function.
How to resolve it
- Check what algorithms are used by each key with
gpg --list-keys <user id>
It will output something like:
$ gpg --list-keys [email protected]sec dsa2048 2022-09-21 [SC] [expires: 2024-09-20] C931E2A00A01EE4604049A4EA9C08446B1B88861uid Import key guide <[email protected]>ssb elg2048 2022-09-21 [E] [expires: 2024-09-20] |
Here the primary key (marked with the SC(new window) capability) is a DSA key, and the encryption subkey is an ElGamal key.
If your primary key (the one with the certify capability) uses an outdated or weak algorithm, you will not be able to import the key.
2a. You can generate a new key directly in the account settings of the Proton Mail web app or by using GnuPG with the command:
gpg --generate-key
2b. If your primary key uses a supported algorithm but one of the subkeys uses an outdated or weak algorithm, you can remove this subkey (and generate new ones if needed) with the command:
gpg --edit-key <user id>
Select the subkey that uses a non supported algorithm with the command:
key <n>
where n is the index of the subkey (as shown in the prompt)
Then delete it with the command:
delkey
If you no longer have an encryption subkey, you can generate a new one with the command:
addkey
3. Confirm the changes with the command:
save
The whole transcript should look something like this:
$ gpg --edit-key [email protected]...sec rsa3072/BC93CFA50EFCDAF0 created: 2022-11-04 expires: never usage: SC trust: ultimate validity: ultimatessb elg2048/CEB2A2B7DB363D99 created: 2022-11-04 expires: never usage: E[ultimate] (1). teststes <[email protected]>gpg> key 1gpg> delkey...gpg> addkey...sec rsa3072/BC93CFA50EFCDAF0 created: 2022-11-04 expires: never usage: SC trust: ultimate validity: ultimatessb rsa2048/E910A70D5E1E5FC8 created: 2022-11-04 expires: never usage: E [ultimate] (1). teststes <[email protected]>gpg> save |
4. Export the key from GnuPG with the command:
gpg --armor --export-secret-keys <user-id> > exported-key.asc
5. You can now import the newly exported key into Proton Mail