
Bulk sub-user creation for organizations
If you have a Proton for Business plan, a Proton Family plan, or a legacy Visionary plan with a custom domain, you can create an organization and add users to it.
With our latest release, you can create multiple sub-users for your organization at once by uploading a CSV file.
1. Log in to your Proton Account at account.proton.me.
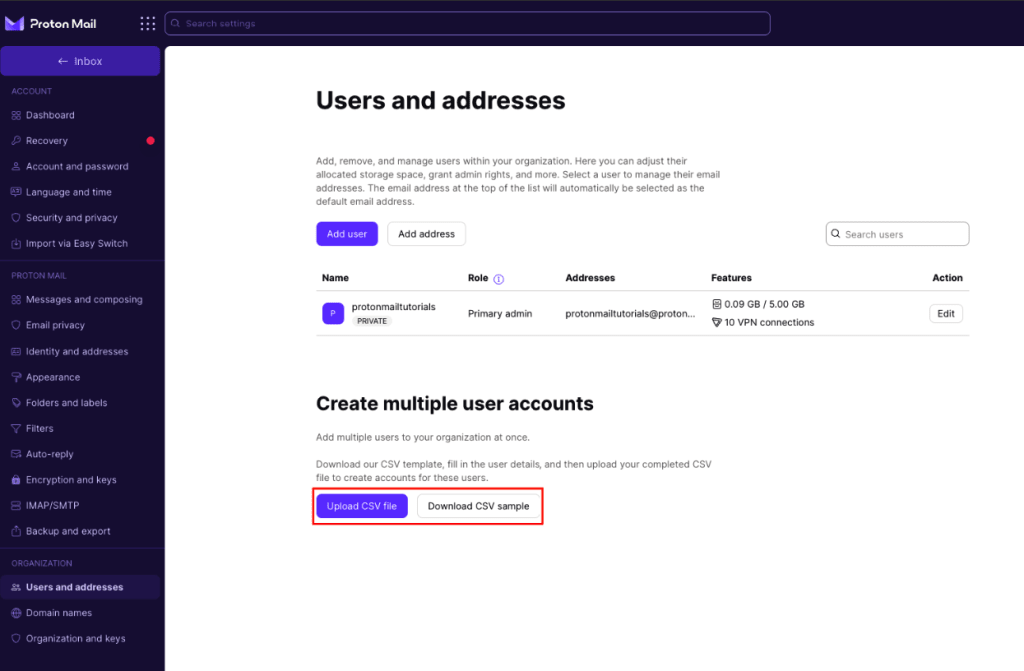
2. Click Settings → All settings → Organization → Users and Addresses → Create multiple user accounts and then click Download CSV sample.

3. Once you have the CSV sample, open it and fill in the following required information (according to the columns in the file):
- Display name
- Email address: To add more than one email address for a user, separate the addresses with commas.
- Invitation email: An invitation with a sign-up link will be sent to this email address”
- Storage: You must enter the amount in bytes. For example, to assign someone 1 GB of storage, you must enter 1,073,741,824. You can use an online unit converter(uusi ikkuna) to make this process simpler.
- VPN access: Enter 1 to allocate VPN connections or 0 to create the account without VPN connections.
- Note: Not all plans include VPN connections. For example, if you have a Mail Essentials plan, you can’t assign VPN connections to your sub-users. Check our pricing page for more details.
- Select whether you want the user to be private or non-private.
- 1 for private
- 0 for non-private
Once you’ve entered all the required information, please make sure that your file is saved as a CSV file and upload it to your Proton Account by clicking the Upload CSV file button.
Note: You can modify any of the features you assigned to your organization’s sub-users by clicking Settings → All settings → Organization → Users and addresses and clicking the Edit button next to the desired user.
You’ll receive a prompt window to confirm the changes. Then you can proceed with creating accounts for your organization’s sub-users.
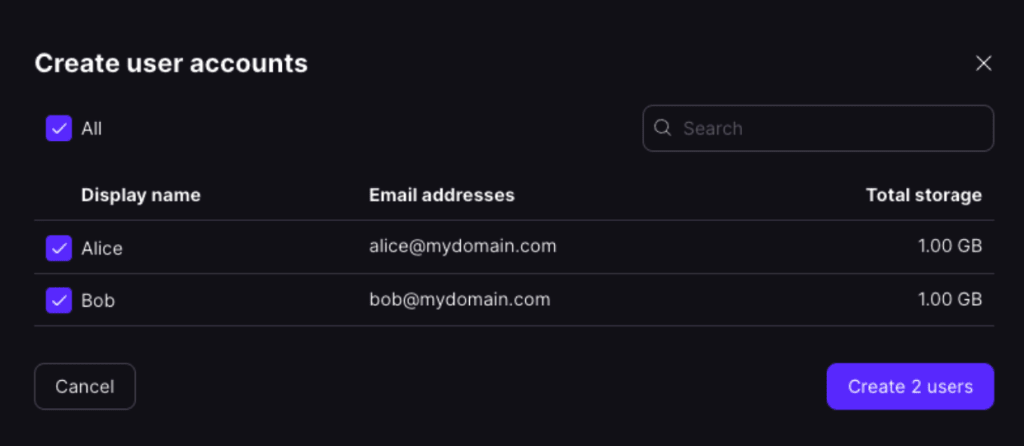
Once created, you can see which members have accepted the invitation to join your organization and create their account. “Pending” members — those who didn’t accept the invitation — will be highlighted with the label “Invite sent“.